

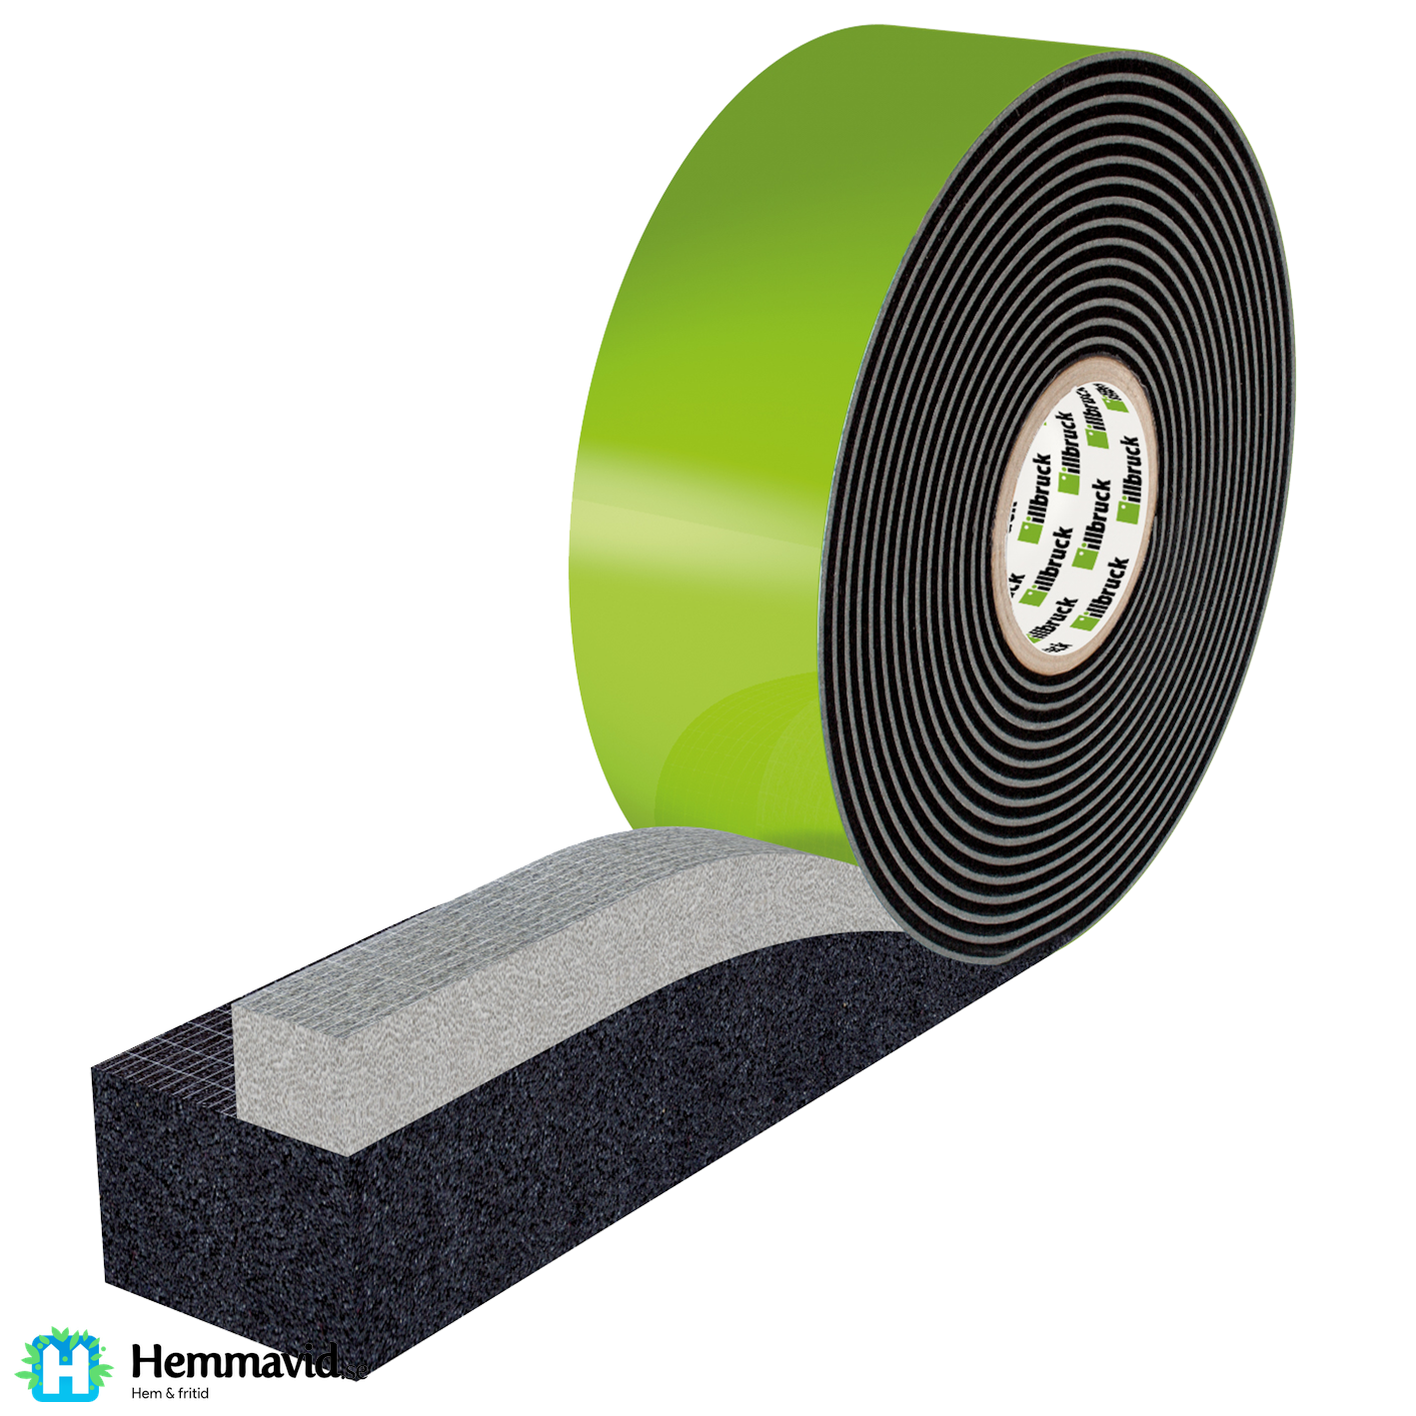




Description
TP652 is a flexible, pre-compressed, open-cell joint sealing tape based on polyurethane foam.
Product description
Area of application
Developed to meet passive house manufacturers' requirements for complete sealing and insulation of windows and doors according to the principle of being open on the outside and tight on the inside.
Environmental assessments
- BASTA
- Byggvarubedömningen: Accepted
- Sundahus: B
- The Swan House Product Portal: Listed
Installation & assembly
- Wipe the surfaces clean of dirt and moisture.
- Choose the correct dimension, e.g., for an 8 mm joint width, use the 5-10 mm tape; if it is 12 mm between the frame and wall stud, use the 10-20 mm tape.
- Cut off the first and last 25 mm of the tape (the compression on the roll is tightest there and will not expand properly).
- Ensure that the grey side of the tape faces the inside of the room.
- Start by sticking the tape to the bottom of the opening. Remember to make the tape approx. 20 mm longer than the opening. This is important to ensure tightness in the corners. Note that the ends must be completely folded down into the corner angle.
- Then stick the tape to the vertical sides of the window.
- The sides are cut to the same length as the window frame. If a mounting sleeve (like Adjufix or Thema) is used, cut a cross over the sleeve.
- Finally, stick the tape to the top of the window. Note that the tape here should be the same length as the one on the bottom.
- Fold down the overlap to facilitate assembly. (see fig 4)
- Lift the window into place and ensure that the gap is the same on all sides.
- Screw the window in place and adjust it (see fig 6).
- Push the overlap back with a screwdriver or similar so that the corner joint is perfect. The tape cannot expand if it is folded!
- Installation complete; the window now has a three-stage seal in one operation.
- All joints of the tape must be made at a 45° angle.
- Opened rolls should be resealed with the green protective tape to prevent expansion. Stored rolls should have a weight on top to prevent the tape from expanding sideways out of the roll.
- We recommend that the tape be kept at approx. +20°C before installation.
- The expansion time is approx. 20 minutes at +20 degrees. Keep in mind that the tape needs heat to expand.
- During the summer, you can put the tape in a freezer to allow for a longer installation time.
- During the winter, the tape needs more time to expand. For example, at +5°C, it can take up to a week for the tape to fully expand. You can optionally warm the tape with a heat gun (do not hold it too close) once it is installed to speed up the expansion.
Specifications
Technical information
| Technical information | |
|---|---|
| Building material classification | Class B1 DIN 4102 |
| Thermal conductivity | λ = 0.048 W/m.K DIN 52612 |
| Heat transfer coefficient - U-value | 58 mm tape 0.8 W/(m².K) 88 mm tape 0.6 W/(m².K) |
| Vapour permeability | The inside is much tighter due to illbruck's step technique. |
| Diffusion resistance, Sd value exterior | <0.5 m EN ISO 12572 |
| Air permeability | a ≤ 0.1 m³/ [h.m./daPa)n] EN 1026 |
| Resistance to driving rain | 600 Pa DIN EN 1027 |
| Emissions | Emission-free for indoor installation, AgBB/DIBt method |
| Sound insulation | 58 dB in a 20 mm joint in combination with SP525, DIN EN ISO 717-1 |
| Compatibility | Guaranteed according to BG1 DIN 18542. For materials containing solvents and plasticizers, a compatibility test is requested |
| Temperature resistance | -30°C to +80°C |
| Application temperature | Can be used at all temperatures. Expansion time is affected by temperature and RH |
| Movement absorption | Highly elastic |
| Paintability | Yes, with most diffusion-open acrylic paints available on the market |
| Chemical resistance | Not in contact with solvents or corrosive chemicals |
| Storage time – temperature | 12 months at +1°C to +20°C, in unopened packaging |
Data sheets
Technical data sheet: Download
Safety data sheet: Download